Estonia Product Photography
Product photography is used for commercial purposes. Used for social media, advertising or promotion of the service or product sold by the business.
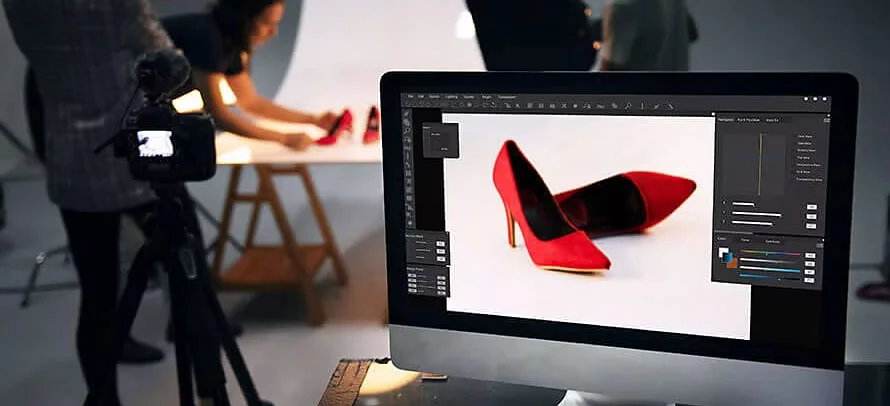
Creating perfect product images.
One of the basic forms of product photography is the one that captures directly, just the image of the product. Often used for product listings on online stores like Amazon or Etsy, these photos are often taken with a white background to limit distractions. Product-only images show details such as product size, appearance and color. These details help consumers find exactly what they are looking for when shopping online.
Before you start your product shots, make sure you connect with your customer and find out exactly what they want. Are there any special angles they want for the product? Does the label need to appear in every shot? Planning makes perfection, so gather the information you need before you shoot the photo shoot.
Getting the right equipment.
“I almost always use my 50mm lens with my DSLR camera,” says product and food photographer Sarah Aagesen, for product-only shots. says. “I also bring a 20mm for wider angle shots and a macro lens for the small details I need to capture.” Having a variety of lenses on hand helps you adapt to the challenges of shooting.
Never use the autofocus function on your camera for still product photos. “If your subject isn’t moving, there’s no reason to use autofocus. Place your camera on a tripod and use manual focus.” explains professional photographer Jason Deymonaz. Also, be sure to use a shutter release cable so you don’t unintentionally move your camera while taking photos. This step can save you time if you’re taking multiple exposures from the same angle to combine later.
Shaping your product.
As a product photographer, it’s your responsibility to make the product look the best it can. “I always have a cleaning kit with glass cleaner, scissors and Goof Off to remove stickers, fingerprints and dust,” says Deymonaz. “I make sure the product looks as good as possible in camera, which saves me a lot of time in post-production.” A grain of dust landing on the product and appearing in every photo means that editing each image will take a significant amount of time. If you’re photographing clothing or fabric, be sure to iron out any unwanted wrinkles.
Adjusting the product photo.
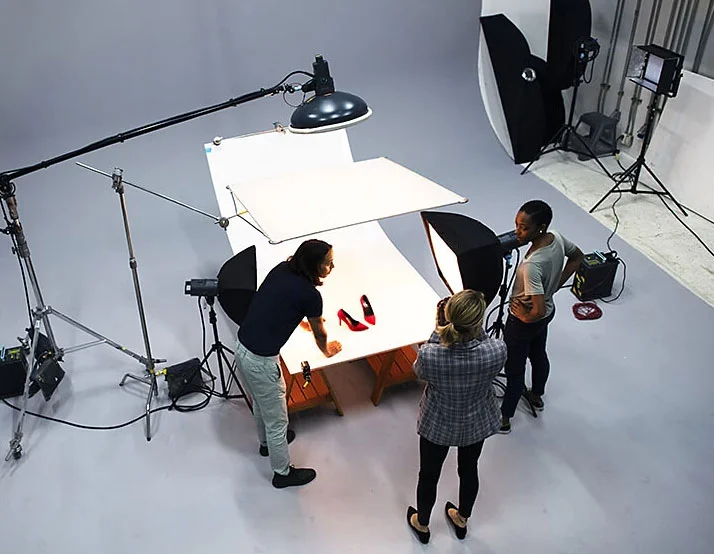
Once your product looks good, adjust the rest of your shot. Create high-quality images by shooting on a plain background, such as white or black fabric or paper. The product needs to shine in these photos. So, keep the background simple and clean to block out distractions.
Consider using a softbox for lighting the product photo. These light modifiers create soft, diffused light by reducing harsh shadows. Because you want viewers to be able to read the labels and take in the details, your lighting settings for product-only photos should be simple to illuminate everything. You may also consider using light tents and artificial light. Light tents are wire-framed mesh cubes covered with thin white fabric. These create a soft, diffused light environment that ensures even illumination of small objects.

“For product-only photos, I don’t recommend using natural light as it can change very quickly,” says Aagesen. says. “You’re often shooting multiple shots from different angles, and if you’re using light from the window, when the clouds come out you’re suddenly shooting in a completely different light.” Because natural light can vary and is difficult to replicate, photo studio lighting is often better for successful product photography. After all, you may need to take more photos if new versions of the product are released.
Pulling your products.
In the case of some objects, you need to take multiple exposures of the same shot to capture different details or parts of the product in the best possible light. “I’ll take three to ten different takes and combine them into one shot,” Deymonaz said. says. Make sure you have a flash, reflector, or other light source ready if you need to replace your light. If you have a small subject or are shooting with a shallow depth of field, you may need to use focus stacking to make sure every part of the subject is in focus.
Source: Adobe.com

